Getting Started with the Free Bot
A quick start guide to deploying and configuring Help Buddy on your Discord server
This guide will walk you through setting up a fully working Help Buddy ticketing system from scratch. The steps build on each other, and the whole process takes about ten (10) minutes.
Note
Step 1: Add Help Buddy
Click the Get Started Free button on the Help Buddy website. You will see a standard Discord authorization prompt. Grant all the requested permissions.
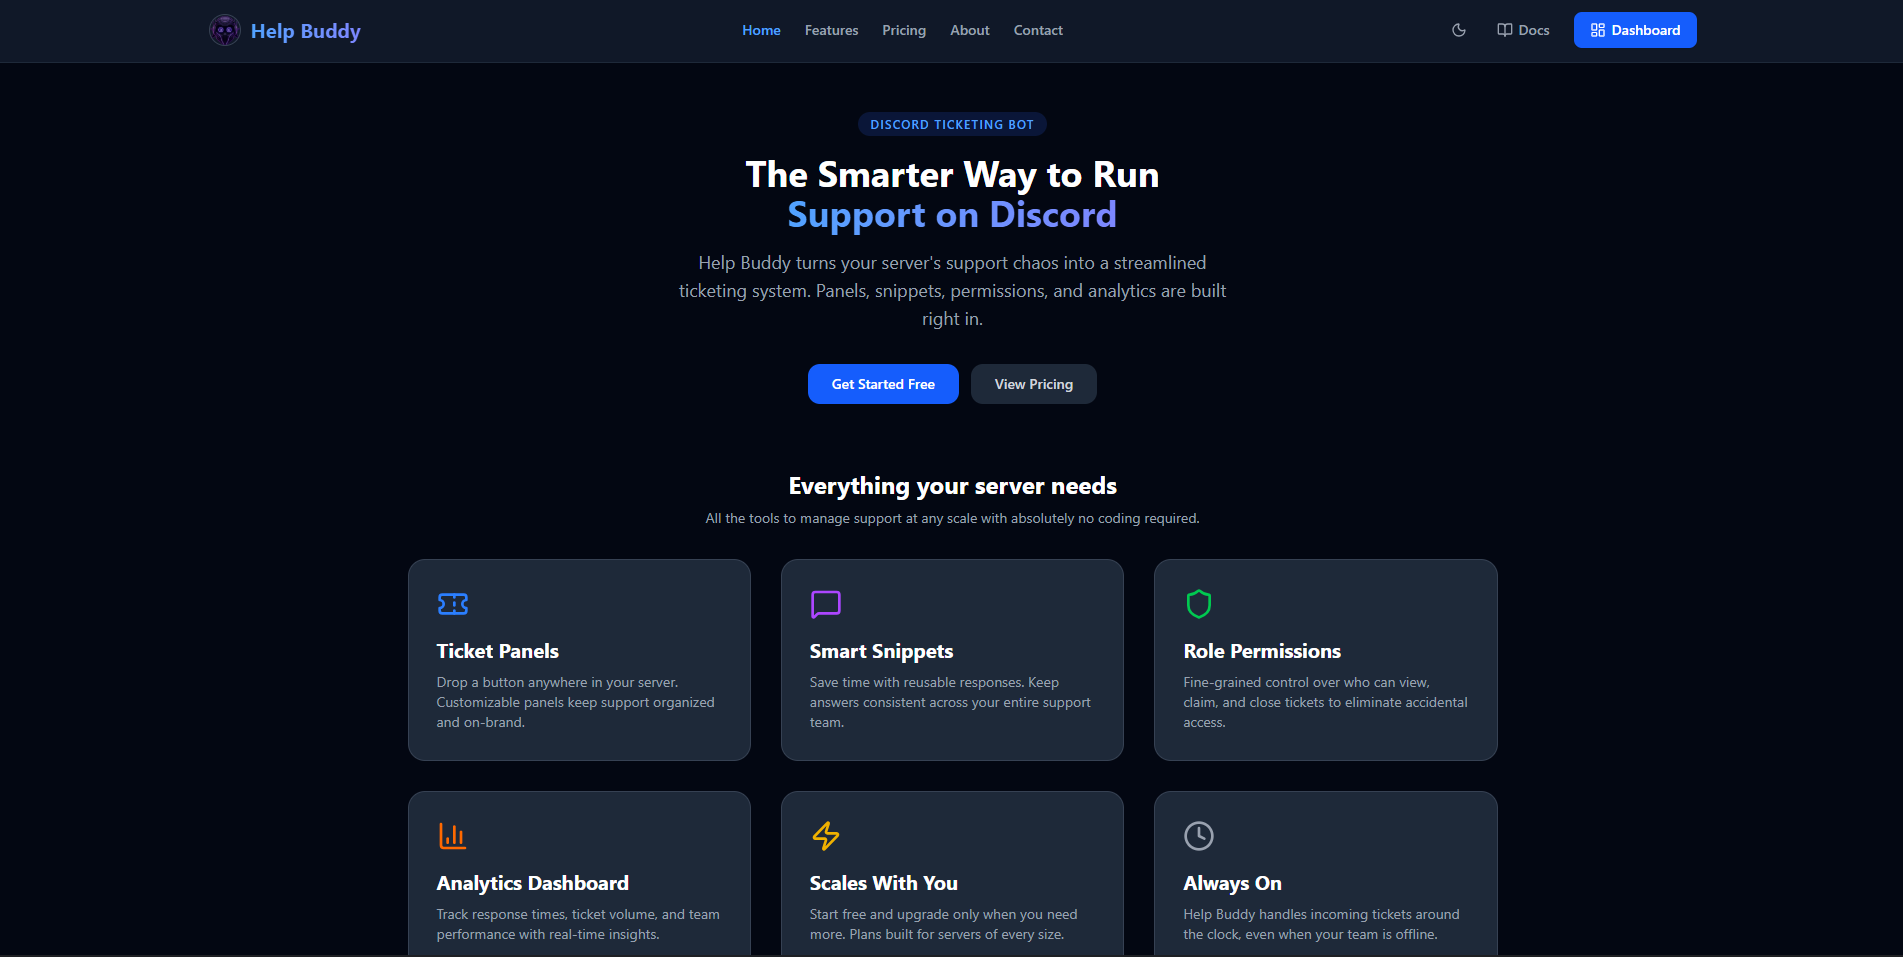
Once authorized, you will automatically land on your server dashboard. If you manage more than one server, select the one you want to set up from the list.
Step 2: Decide Who Answers Tickets
Open the Permissions tab. You will see two different role lists.
Role | Description | |
| Admin | Gives full access to all tickets and configuration of the system |
| Staff | Allows viewing and responding to tickets, but grants no access to view or modify core system functionality |
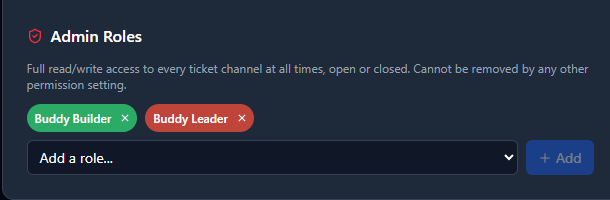
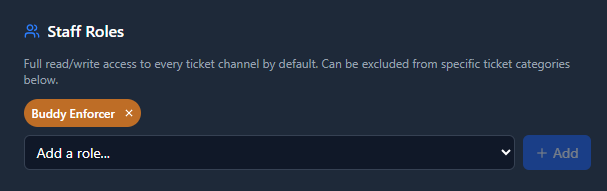
Add at least one role to the Staff Roles list now. If you do not, only you will be able to see new tickets when they open.
Step 3: Create Tiers and Categories
Open the Tiers & Cats tab. These are the two main building blocks of your setup.
- Tier: A main support area with its own routing, transcripts, and Staff
- Category: The high level classification (subject) of a ticket - members select this from a panel dropdown
Note
Step 4: Configure Where Tickets Are Created
Open the Routing tab and select the Discord category where new tickets should appear and do the same for closed tickets should be moved. This setting applies to the whole tier, but you can override these targets for a specific category if needed.
Step 5: Set Transcript Channel
Open the Transcripts tab and choose a channel where closed ticket logs will be saved. This is set per tier.
Warning
Step 6: Deploy a Panel
On the Panels tab, click the button to deploy a new panel. Set the Discord channel in which to post the panel, attach the categories the panel should use, and click the button at the bottom of the page to send your new panel to Discord.
Note
Step 7: Test
Create a ticket and check the following things to verify your new ticket flow works as intended:
- The channel was created in the correct category.
- A welcome message appears in the created private ticket channel.
- Your designated Admin and Staff roles can see this channel.
Once all this is verified, use /ticket close or click the Close button inside the channel. Check that the transcript arrives in the channel set up above.
Bot Permission Checklist
If any part of this process does not seem to be working correctly, and you make sure all configuration is set as required, the bot may have a permissions issue. The following table details the specific permissions Help Buddy requires with an explanation as to why that specific permission is required.
Permission | Reason Required |
View Channels | Read messages inside ticket channels |
Manage Channels | Create new ticket channels and delete closed channels |
Manage Roles | Lock channels so that only ticket creator and staff can see them |
Send Messages | Post panel menus and reply inside tickets |
Embed Links | Send rich formatted embedded messages |
Attach Files | Upload the HTML transcript files |
Read Message History | Pull the chat logs to generate transcripts |
Manage Messages | Pin and edit the bot's own messages |
Use Application Commands | Allow users to run Help Buddy slash commands |